Hi Blogmonsters,
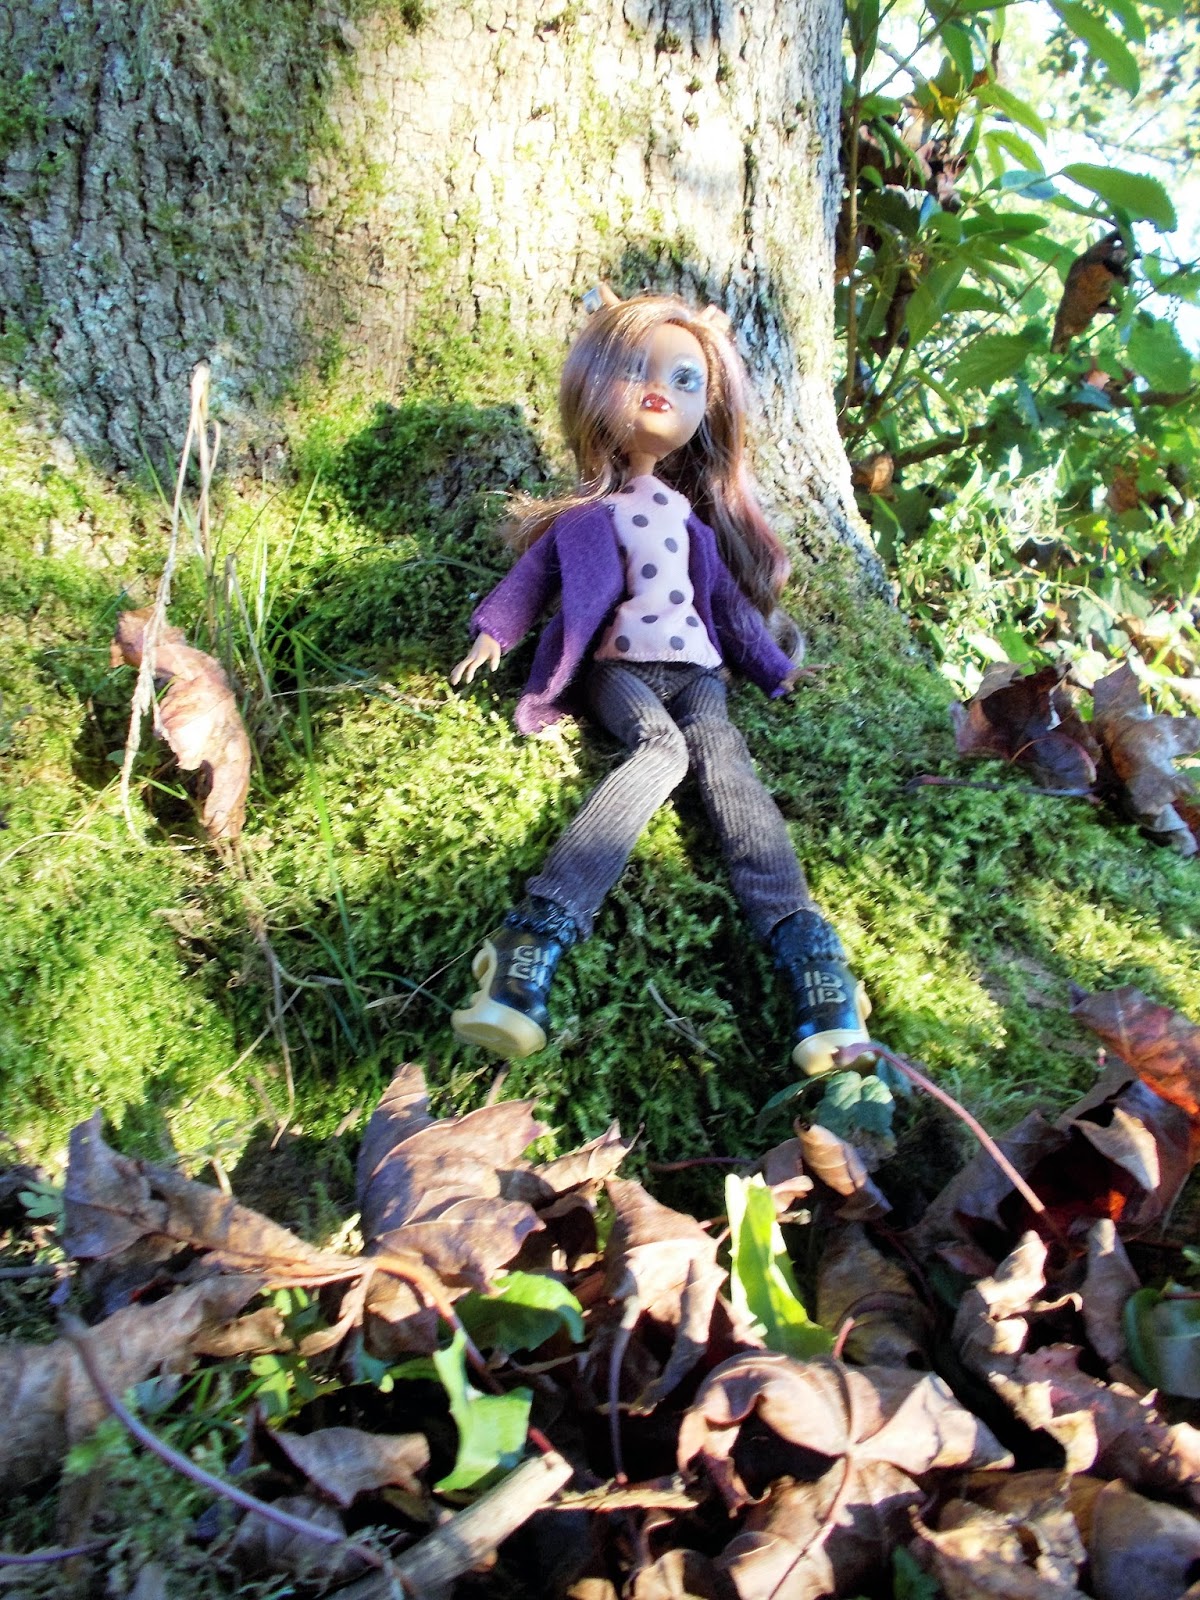
Here is Clawdeen with the weekly blogspot.
Yeah, I finished all the fall fashion and before starting with some more christmas dresses I already finished some furricious party outfits for some of the ghouls.
Next week is Halloween, then the blog will be a little bit shorter - I will show you two more Halloween outfits I made this year.
For this week had been planned to show some new party fashion, but then Draculaura surprised me!

See? Here is is. The Monster High Tapefitty Playset.
I wanted to have it for so long but it had always been too expensive for me, but Draculaura was able to get it cheaper. She bought it as a gift for me to thank me doing so many clothing for her and all the others.
Aaaw, thats so clawsome. You know I love to do it, Draculaura!
Thank you so much, biestie!
Yes, this is not the latest creativity playset, but it is worth the whatever price, so if you like to make clothes for your MH dolls you maybe should go into the shops and look if you still can find it.

The set is huge and includes a model, some things you need to do the clothes, of course tape, accessoires and patterns for 15 different clothes.
There are:
2 dresses for Frankie Stein
2 dresses for Draculaura
2 dresses for Lagoona Blue
2 dresses for myself (Clawdeen Wolf)
2 dresses for Abbey Bominable
2 dresses for Cleo deNile
2 dresses for Ghoulia Yelps
1 dress for Spectra Vondergeist.
And enough accessoires and tape to do them all.
And easy-to-follow instructions. Its no problem at all to do the outfits. You'll see.
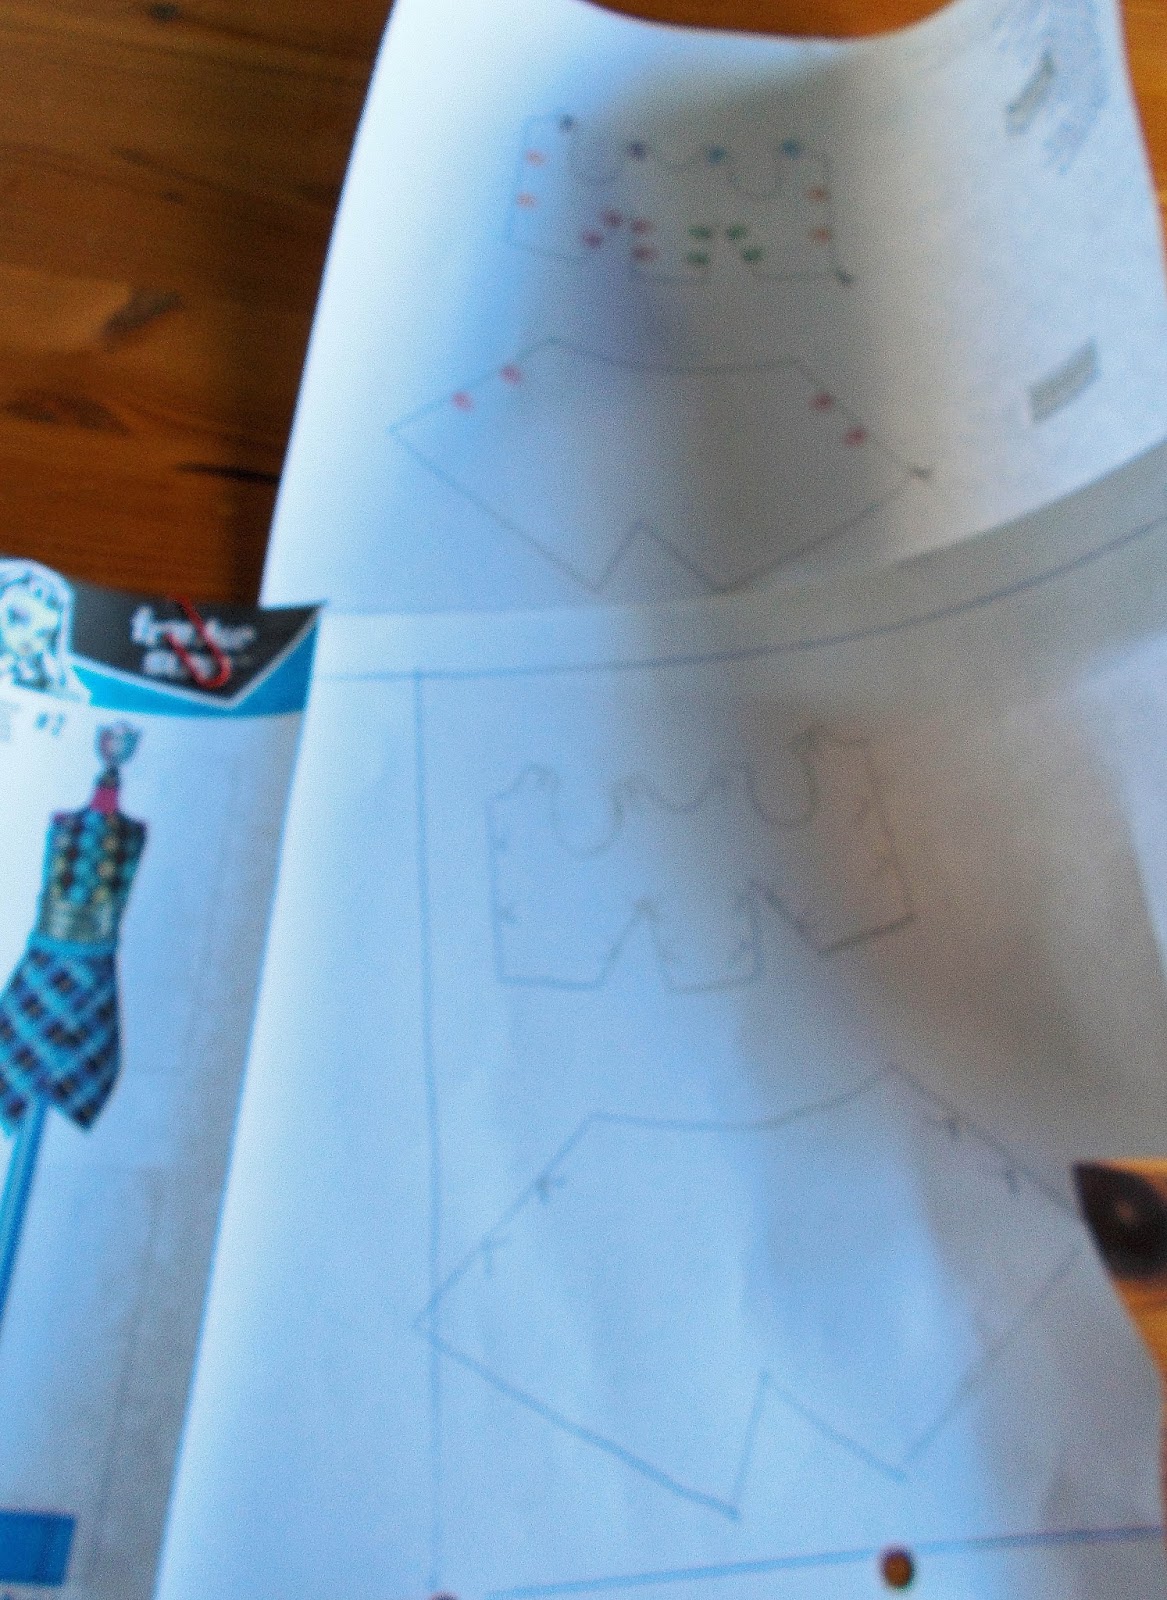
But before we started to do the first outfit for Frankie (we decided to try out the one you see on the pic) we copied the pattern to another piece of paper to save it.
We will do this with all the patterns, and maybe you should do this as well, because you can use the patterns later for fabric clothes as well. I'll show you how.
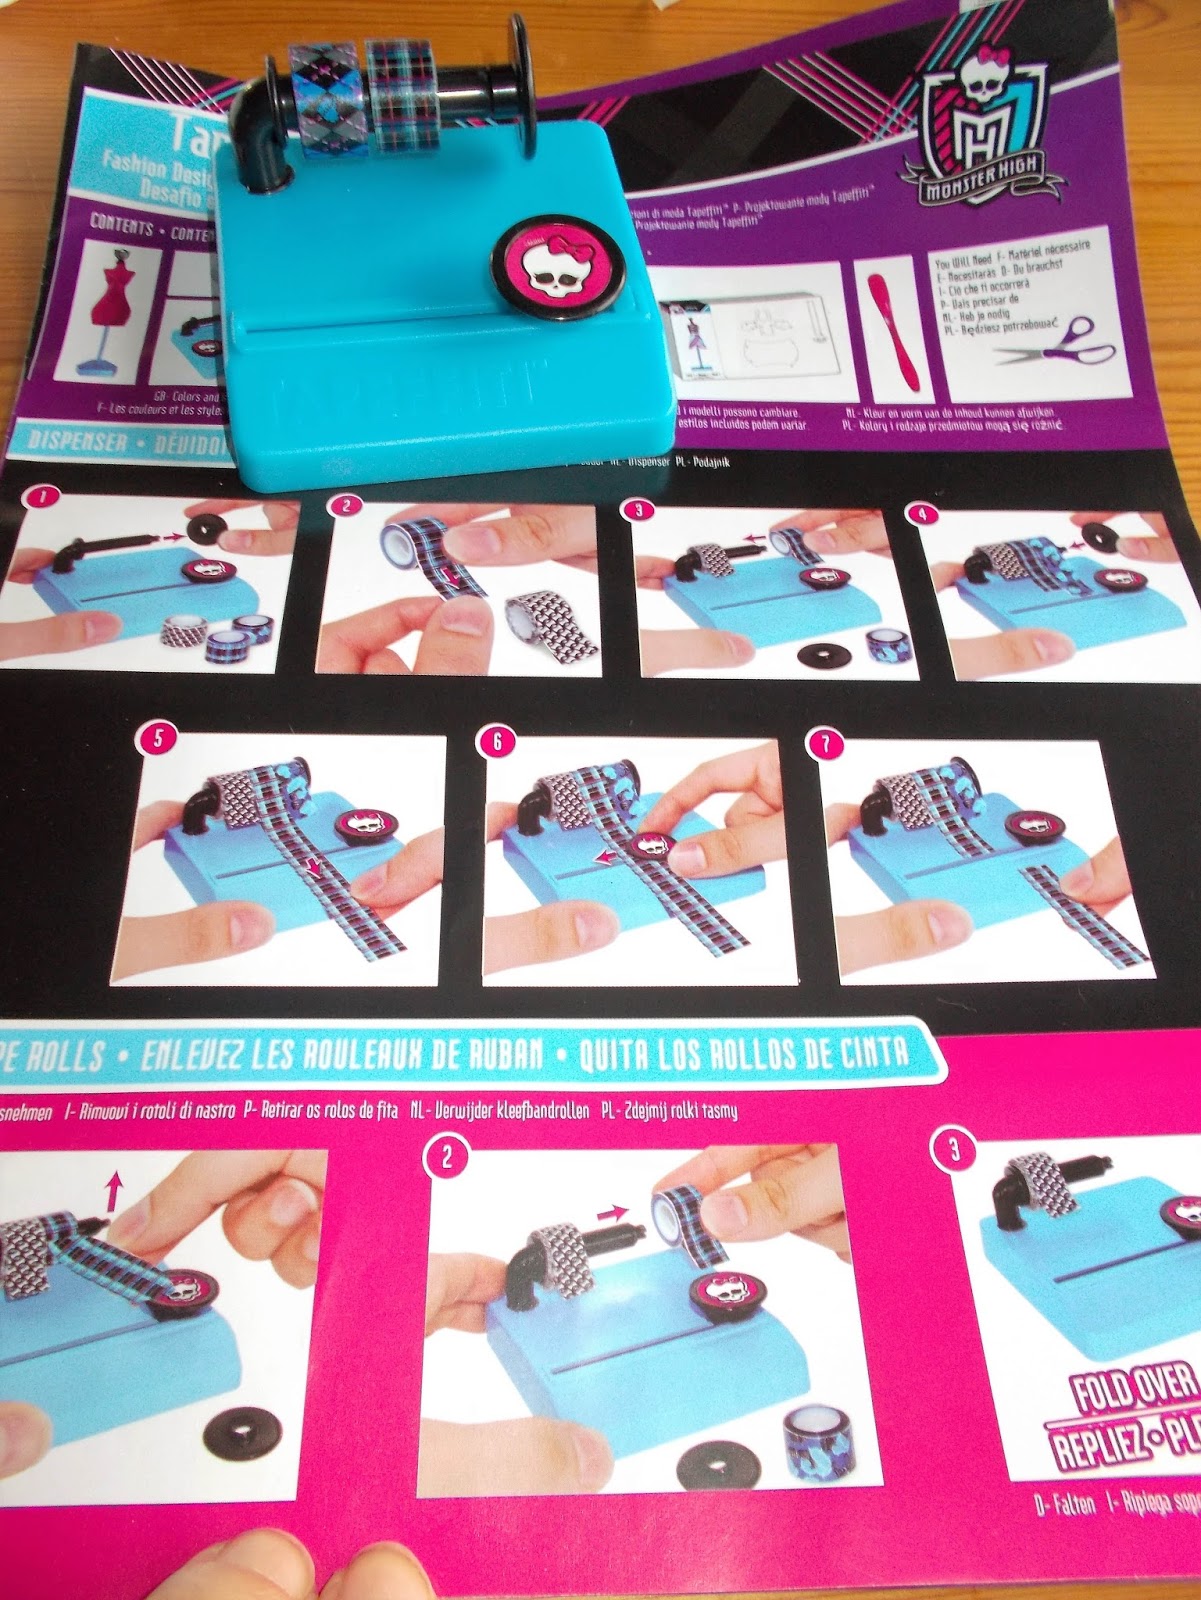
Then, follow the instructions to how to use the dispenser. It is shown which kinds of tape you need for which outfits.

Next, you follow the instructions to tape the pattern. Its easy.
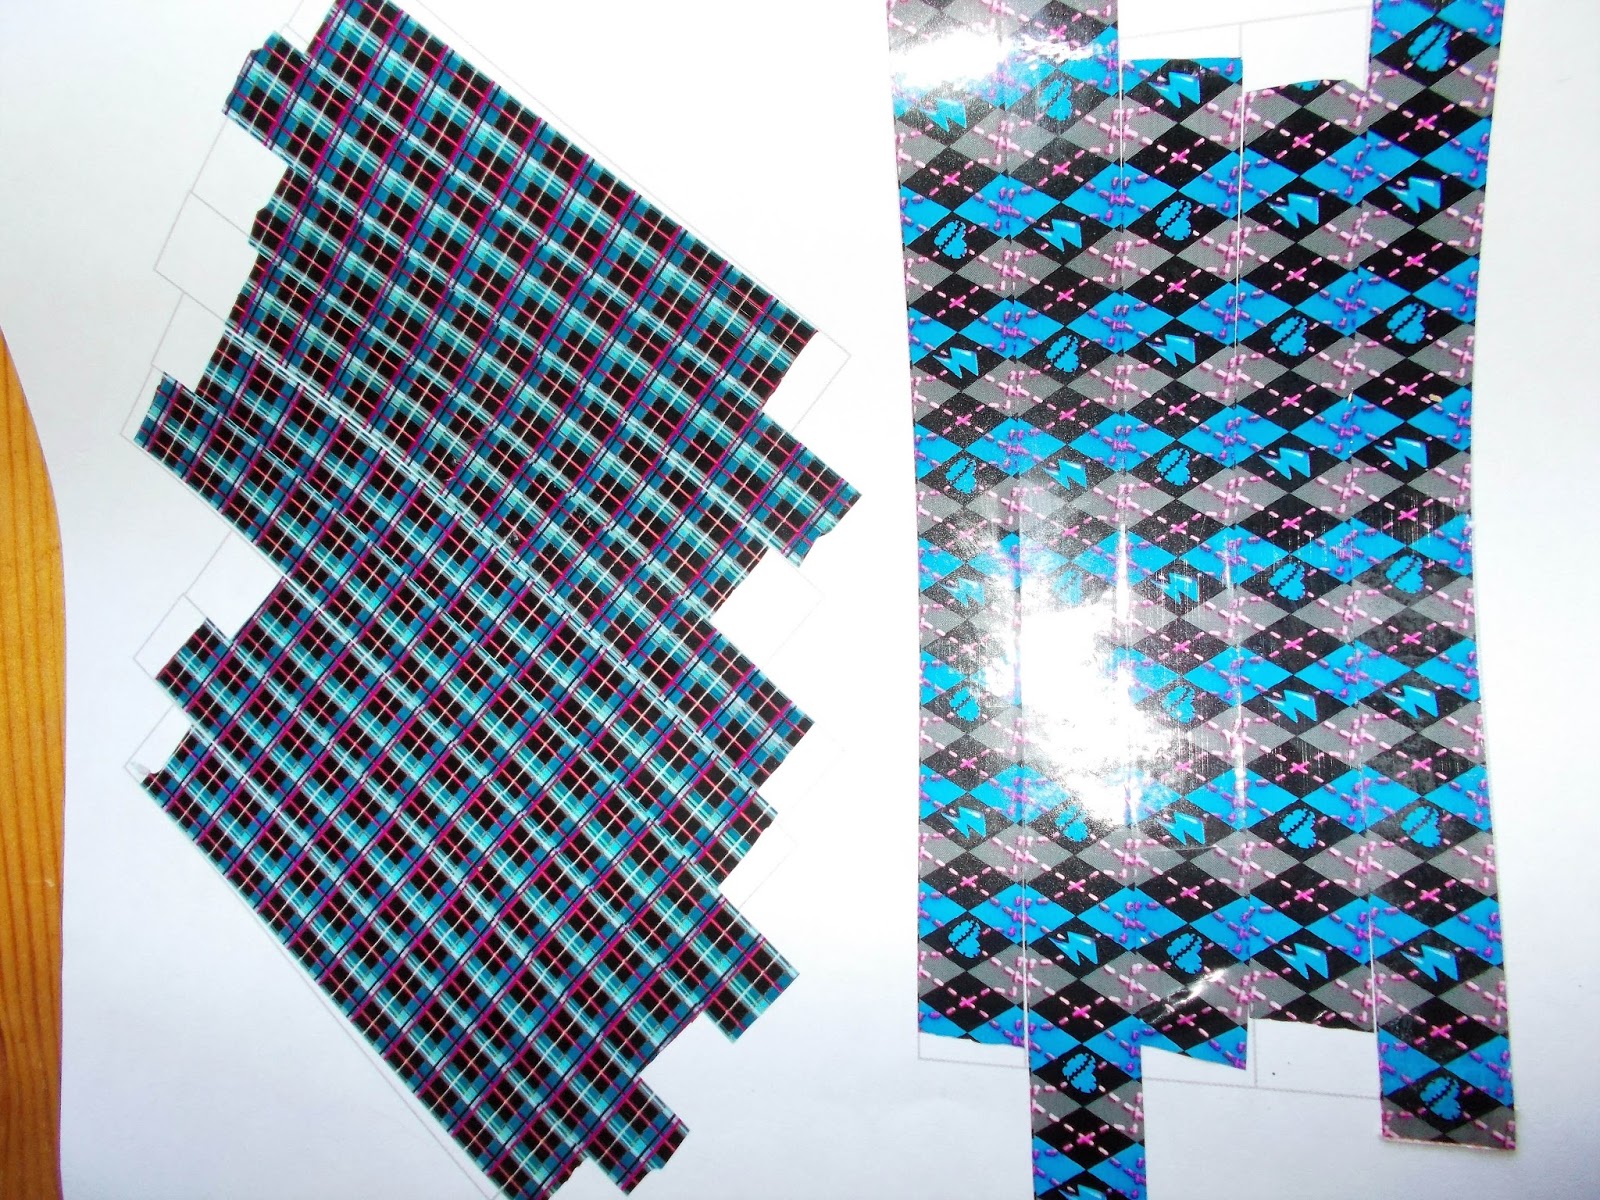
Here is the finished taped pattern.

Then turn the pattern around and cut it out like shown in the instructions.

Now begin to use the translucent tape that is included to the set to tape the pieces together, also as shown.

Now you can already see how the finished piece will look like.

There are also instructions how to wrap and tape the outfits around your model.

And here we did!
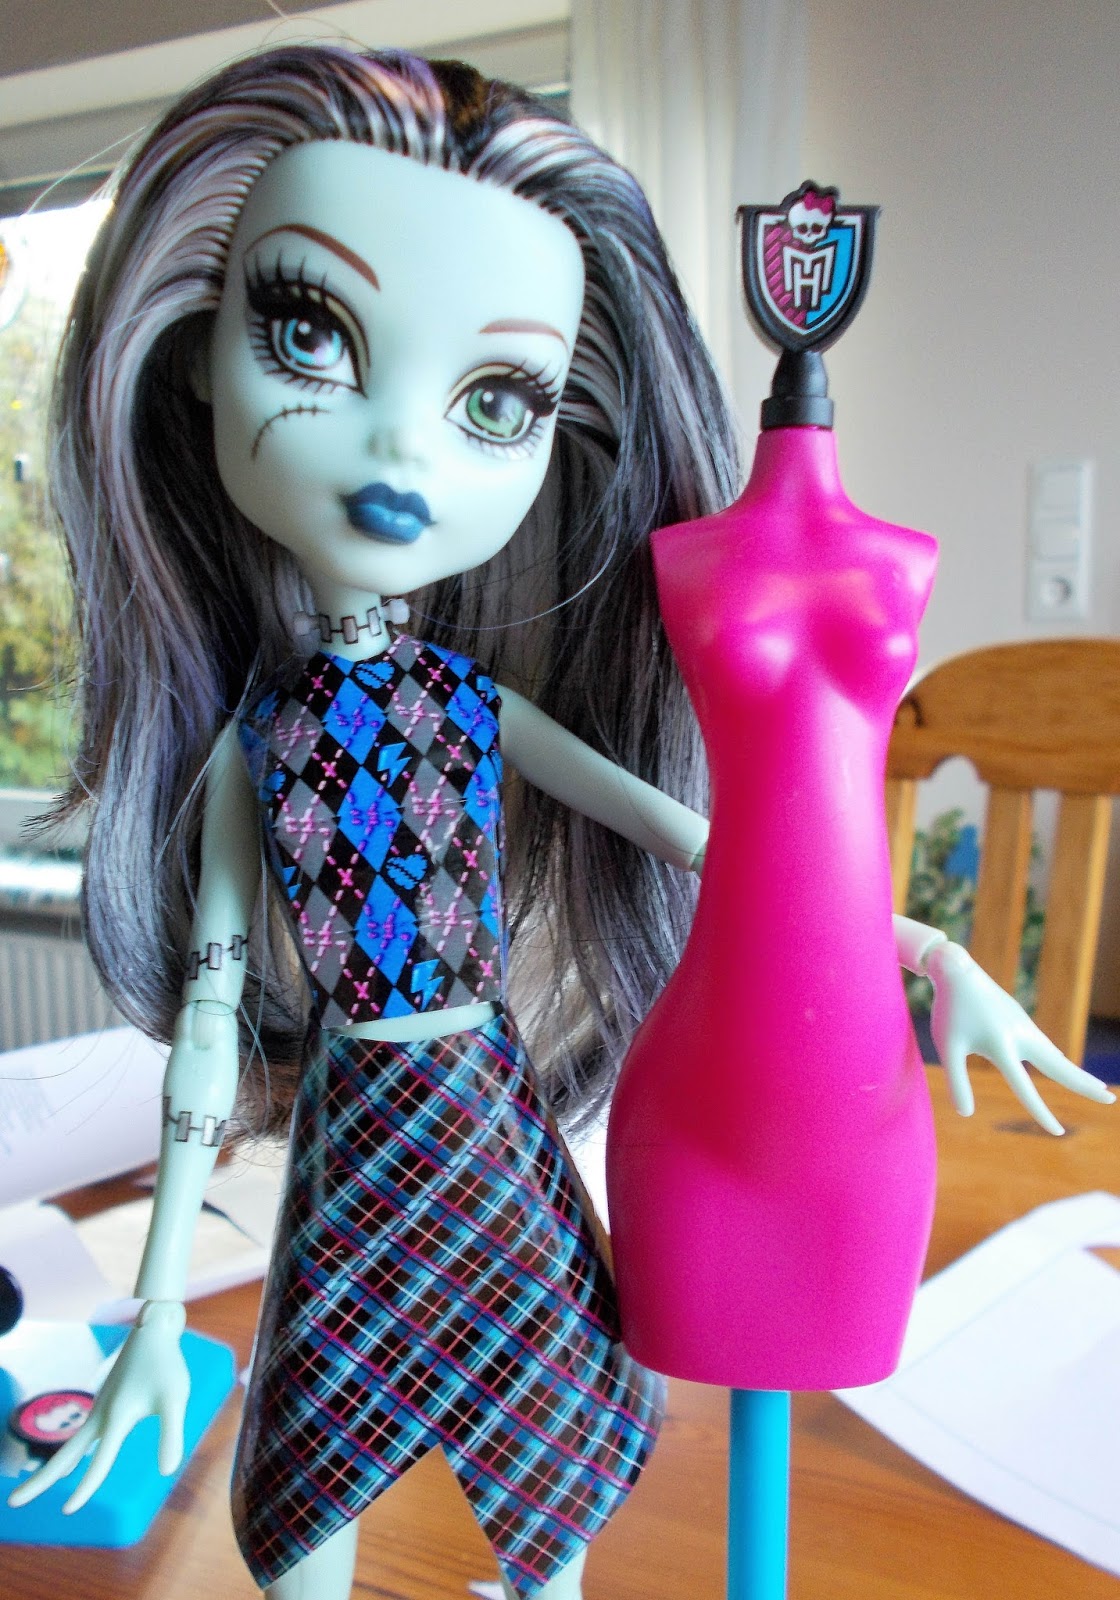
Alternative, you can tape it to your doll. The outfits fit very well.

At the end, use some of the accessoires to make your outfit perfect!

Look how cute Frankie is in her new TAPEFITTY fashion!
Well, this is how you can have 15 times fun with finishing new outfits and display them on the model or on your dolls.
But there is even more fun!!!!
Remember how I told you to copy the pattern first to a different piece of paper before using is?
Now I show you why:
PART TWO:
How to make your own clothes with the tapefitty patterns!

Cut out the copied patterns as you did it with the original ones.
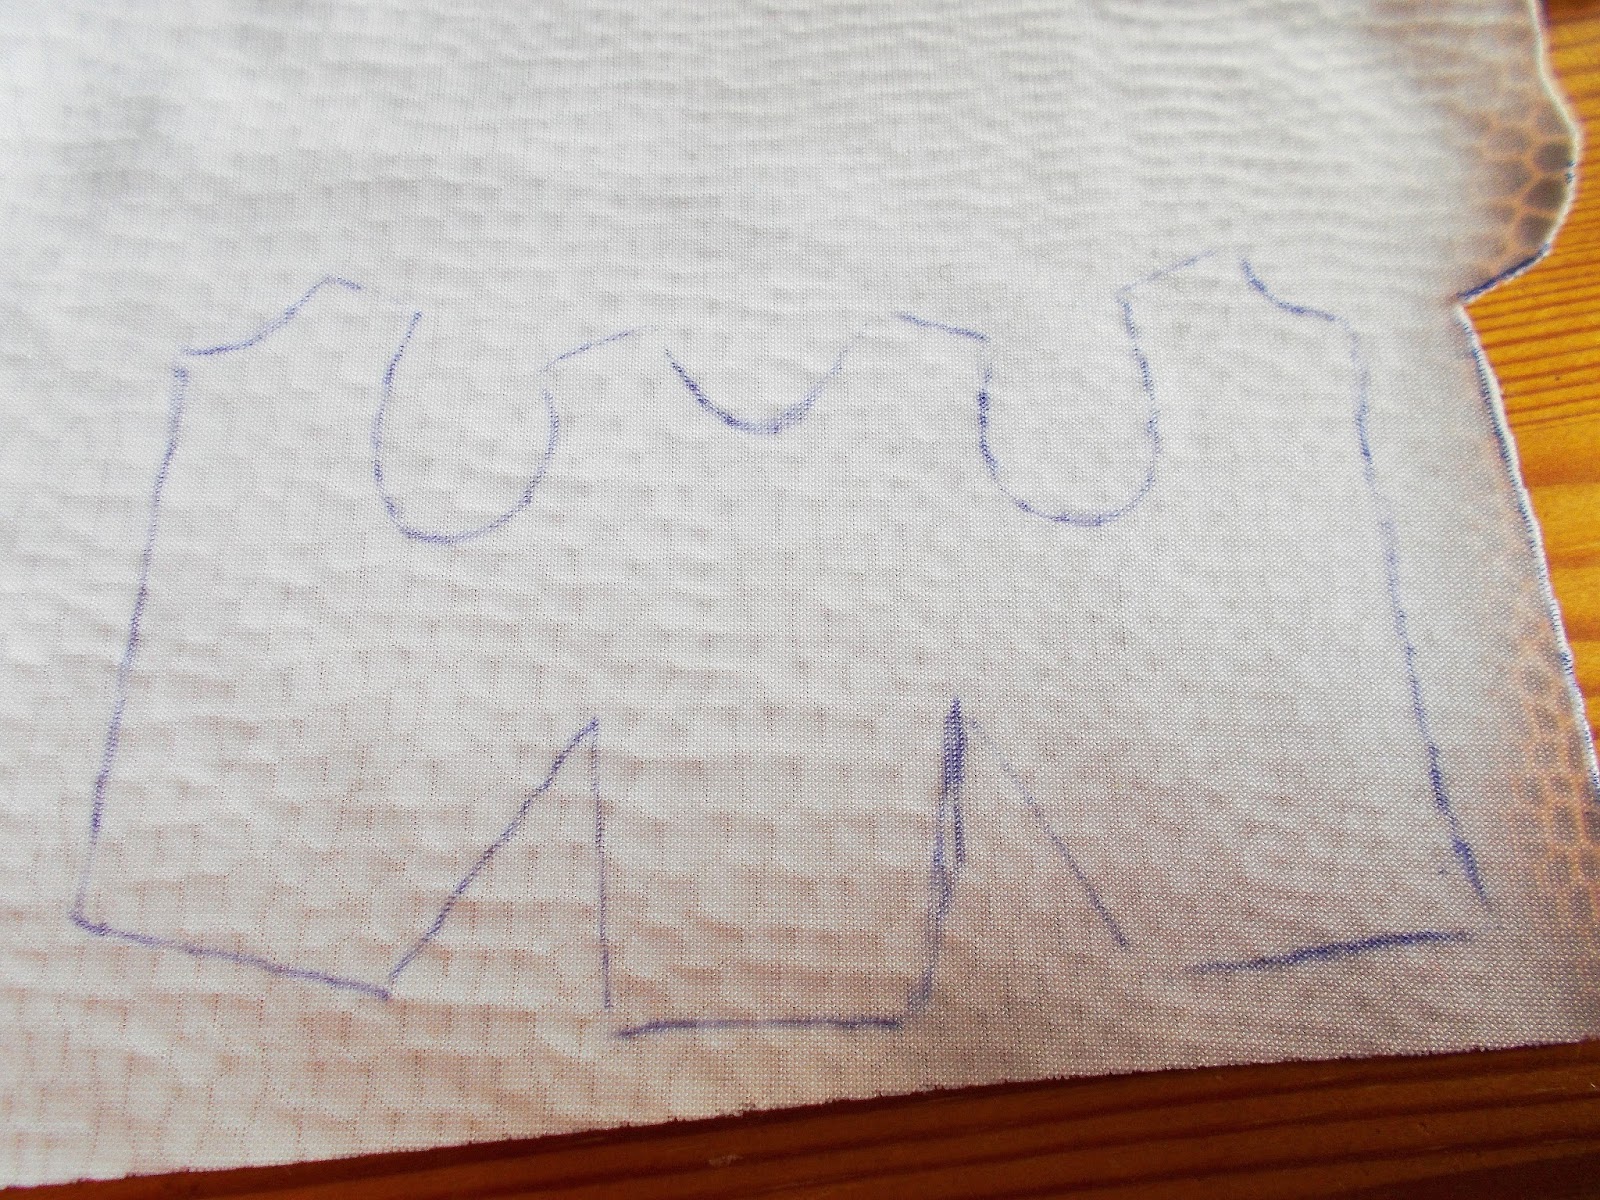
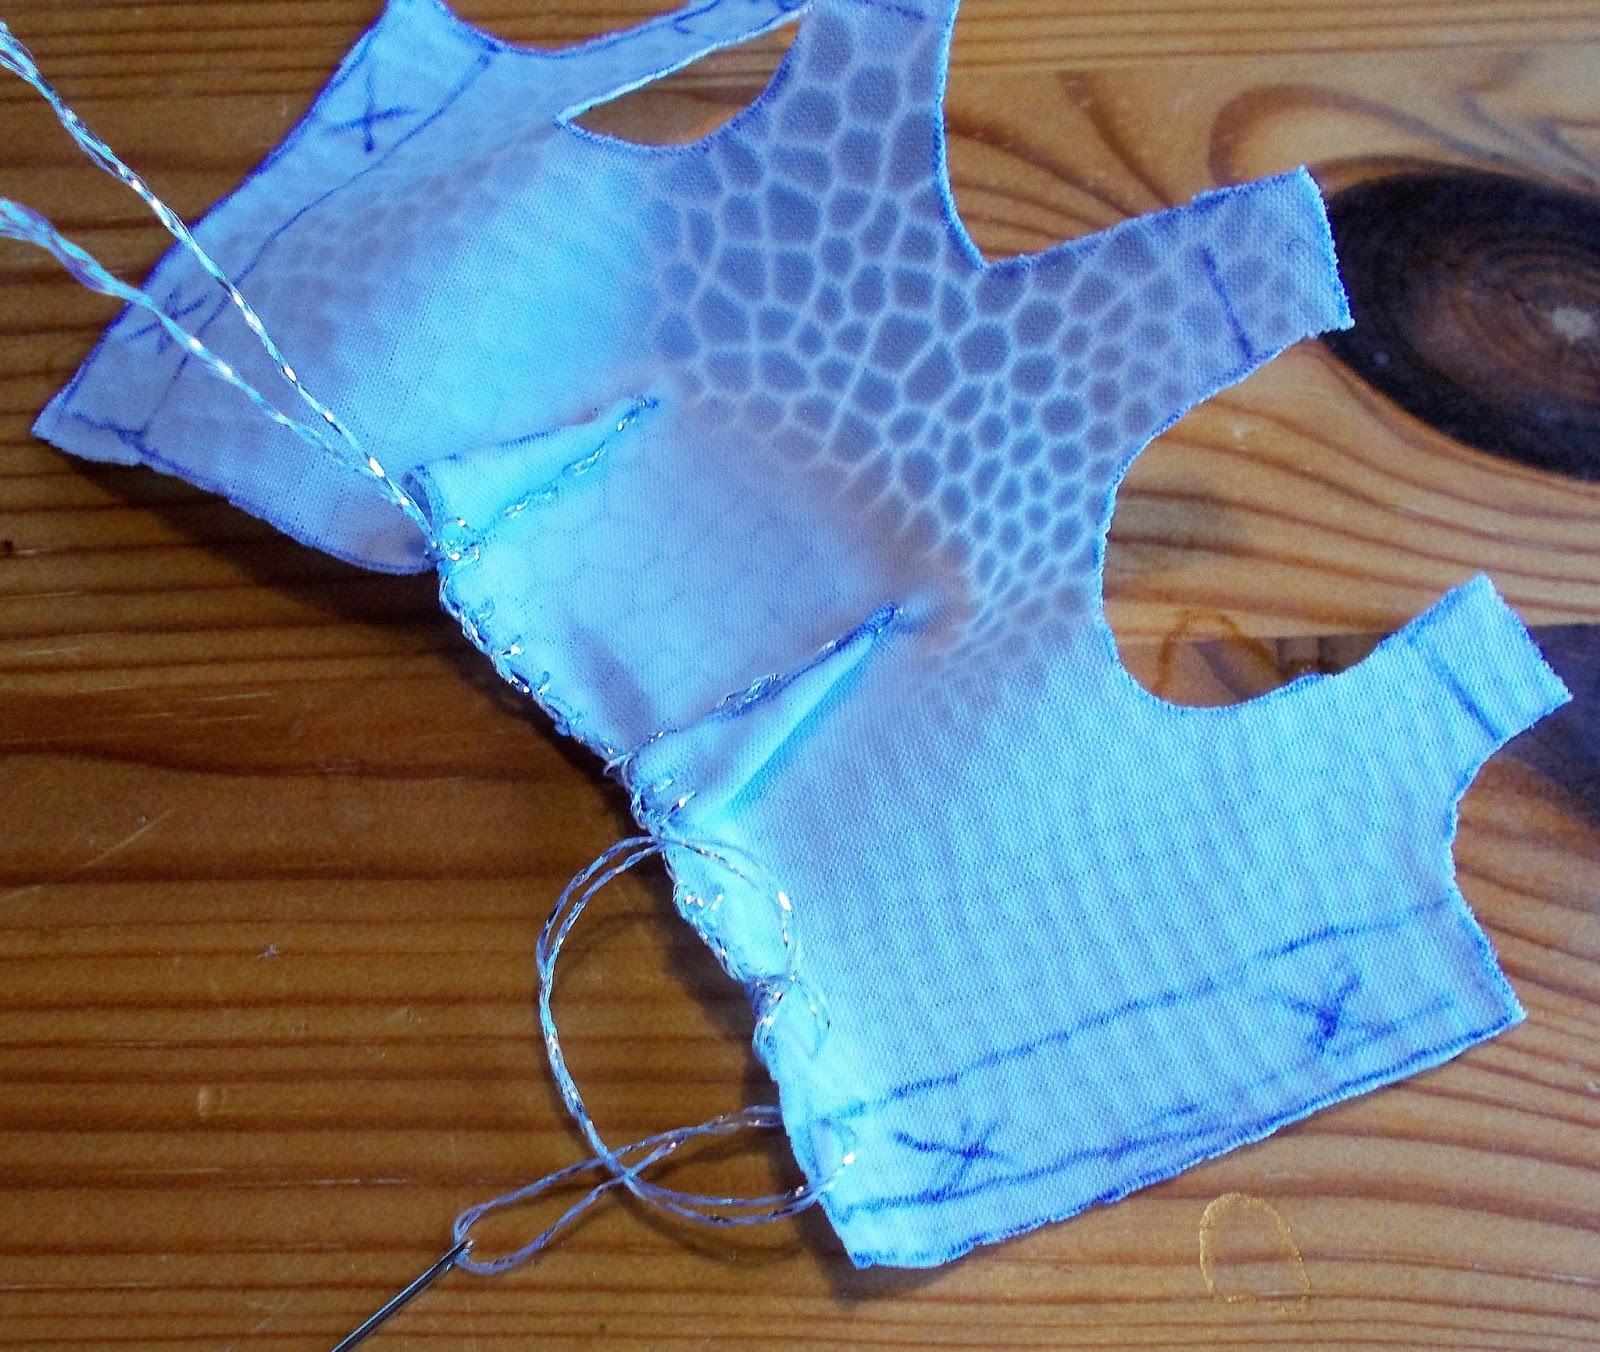
Then copy it again to the left side of a piece of fabric of your choice. We used a stretch material that doesn't fringe but you can use any piece of fabric you like.

Then, add some access to the parts where you taped the original patterns. There are arrows where you have to add some access. At the back of the clothes (like here on the top) you just need one more piece of acces where you should do two x'es where you later sew on press buttons or velcrow, if you prefer.
Don't cut out the triangles at the bottom! Its important.
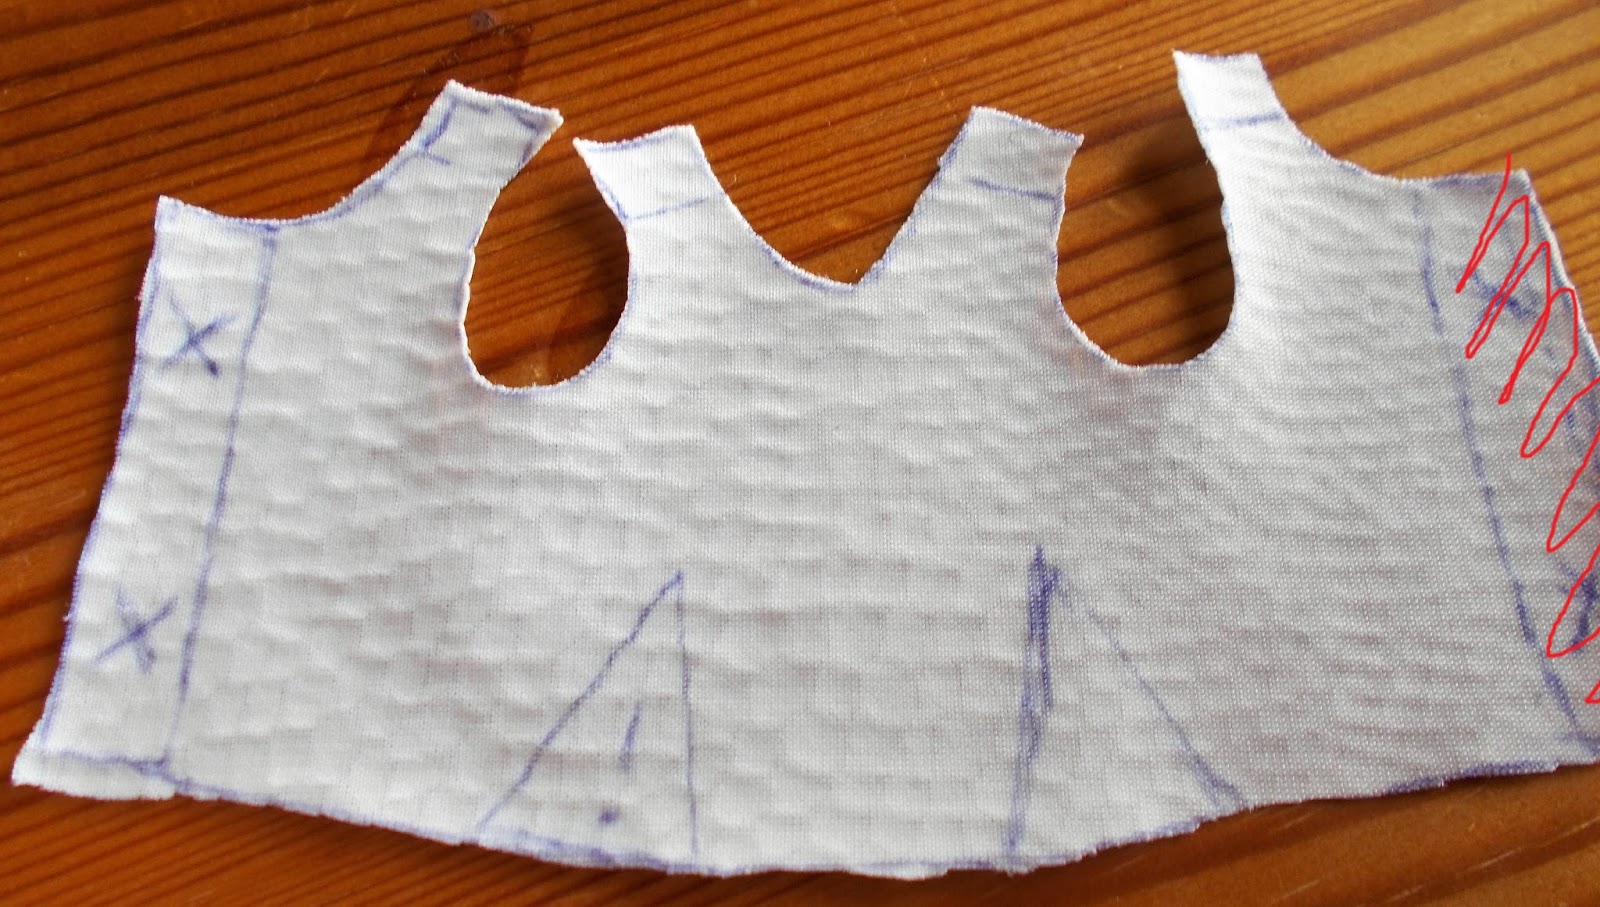
I first made acces at both ends but you need just one. This is how the cut-out piece of fabric looks like from the bad site.

Now sew it together with needle and thread.
We begin with folding together the triangles and sewing them,
It is not neccesary in out example since our fabric doesn't fring, but go around your pattern with a stitch that saves it from fringing in case you chose pattern who does like shown. I use a buttonhole stitch.
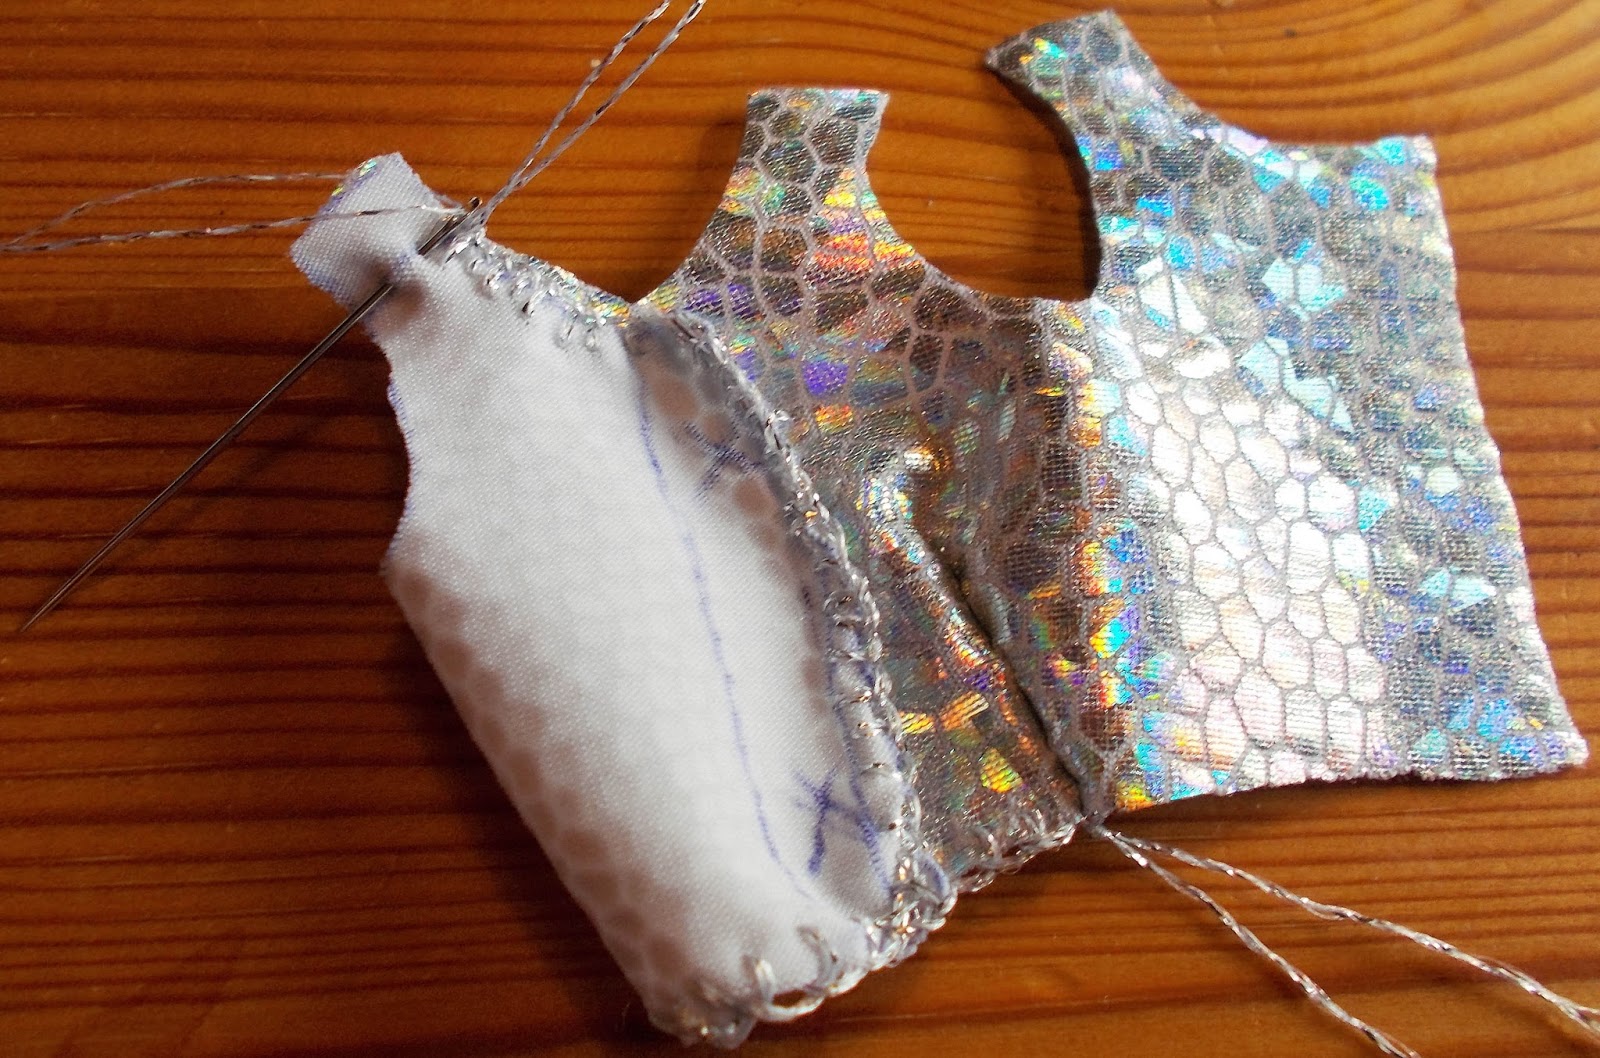
Then, sew together the straps good site to good site.

Then, add some press buttons or velcrow if you like.
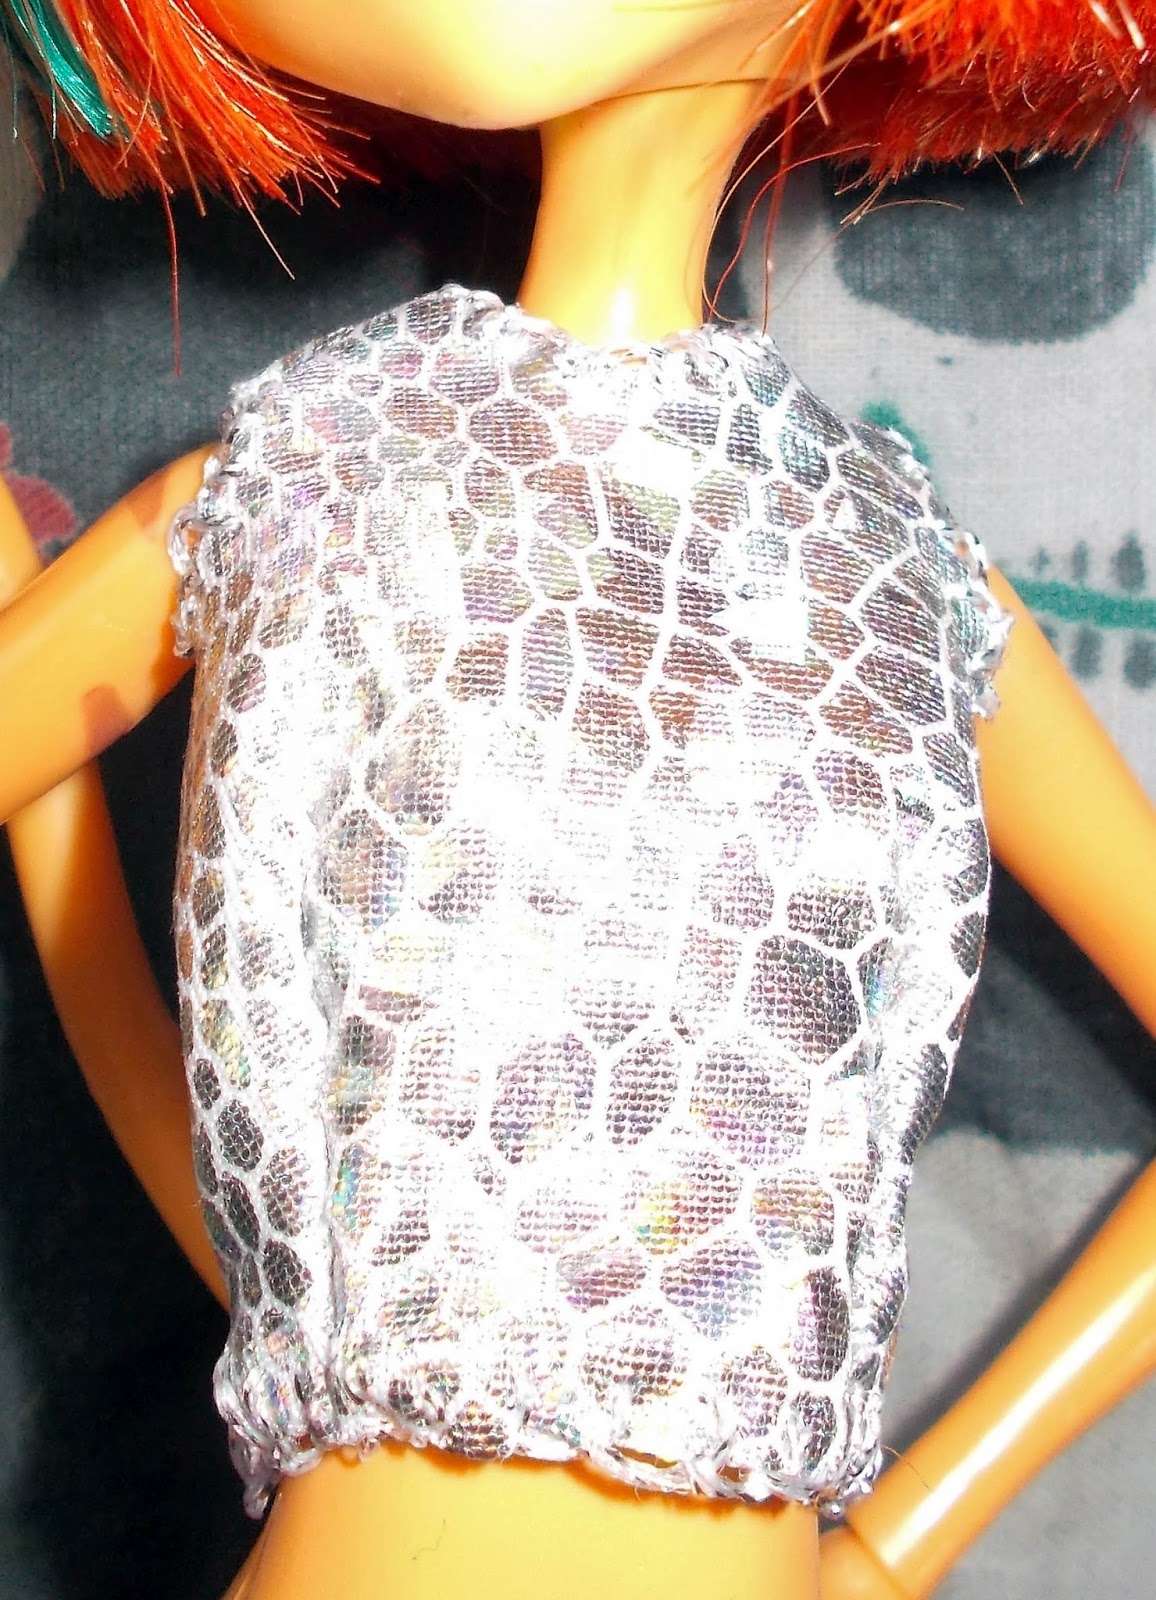
Finished!
So now you can make tons of clothes with the Tapefitty patterns for whatever doll you like that has the same size.

Don't forget to save the patterns for the next time you want to sew something for your dolls. I also saved the original instruction so I still know in the future which pattern it was.
I hope you understood the instructions and are now able to follow them. If you have questions, feel free to ask.
English is not my mothers language so maybe it is difficult for you to understand each step of the tutorial.
I wish you a fangtastic weekend and a clawsome next week!
xxx Clawdeen xxx
Handmade clothes for Clawdeen
ReplyDeleteWelcome to my blog
http://ordaliadollcrafts.blogspot.com/2016/04/knitted-white-sweater-for-monster-high.html
http://ordaliadollcrafts.blogspot.com/2015/12/blog-post_6.html
http://ordaliadollcrafts.blogspot.com/2016/04/and-sweater-again-knitted-bright-orange.html
Wow, those are really cute! I'd love to have one!
Delete